Create your first job
In this guide, we’ll walk you through how to create and schedule a job in DataFuse AI to automate the execution of your pipelines. A Job automates the execution of your pipelines, running them on a schedule or trigger (e.g., run every night at midnight).By the end of this guide, you'll be able to set up jobs that run at your preferred times — whether daily, weekly, or monthly — and help streamline your data workflows.
Step 1: Navigate to the Job Page
To get started, head over to the Job page in the DataFuse AI platform:
- On the left-hand sidebar, click on Jobs.
- Then, click Create Job to begin setting up your first job.

Step 2: Fill in the Job Details
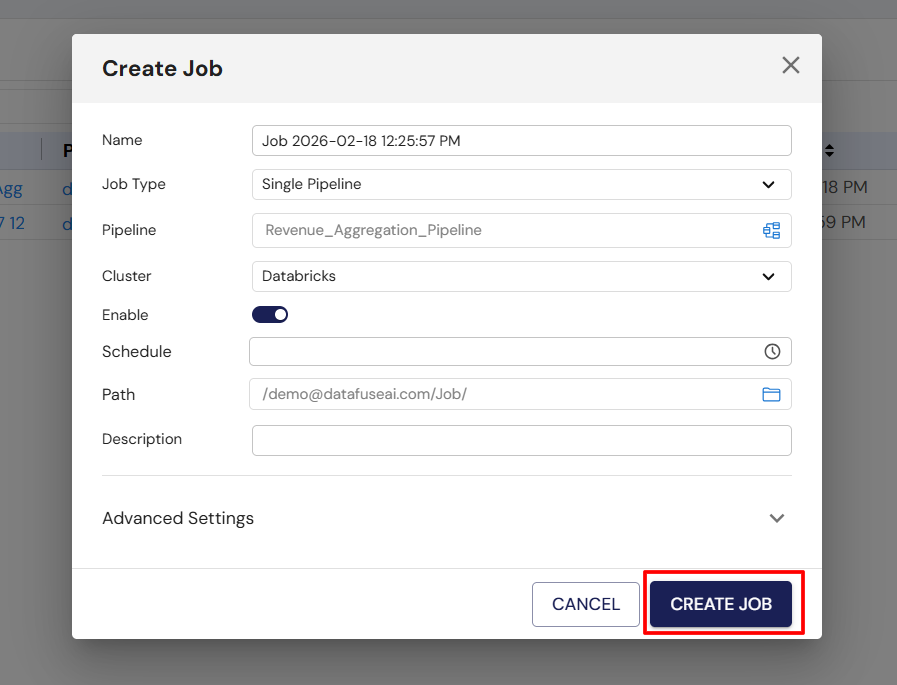
Once you click on Create Job, you’ll see a form with the following fields:
-
Name: Give your job a meaningful name.
-
Job Type:
- Single: This job runs a single pipeline.
- Multiple: This job runs multiple pipelines in parallel.
- Conditional: This job has multiple pipelines with dependencies (only supported for future updates).
Currently, we only support Single job types. Others options will come very soon !
- Pipeline (Select a pipeline): Choose the pipeline you want this job to run from the available list.
- Cluster: Select the engine where this job will run.
- Enable: Enable or disable the job.
- Schedule: Set the schedule for your job by either entering a custom cron expression or using the available UI options.
Cron expressions are a powerful way to customize job schedules. If you’re not familiar with them, don’t worry—just use the UI options for now!
- To learn more about creating valid cron expressions, click here.
- Path: The default path is /Root/Users//Job/. You can customize this if needed.
- Description: Optionally, add a description to help identify this job later.
- Advanced Setting: You can ignore this setting for now; it’s not required for basic job setup.
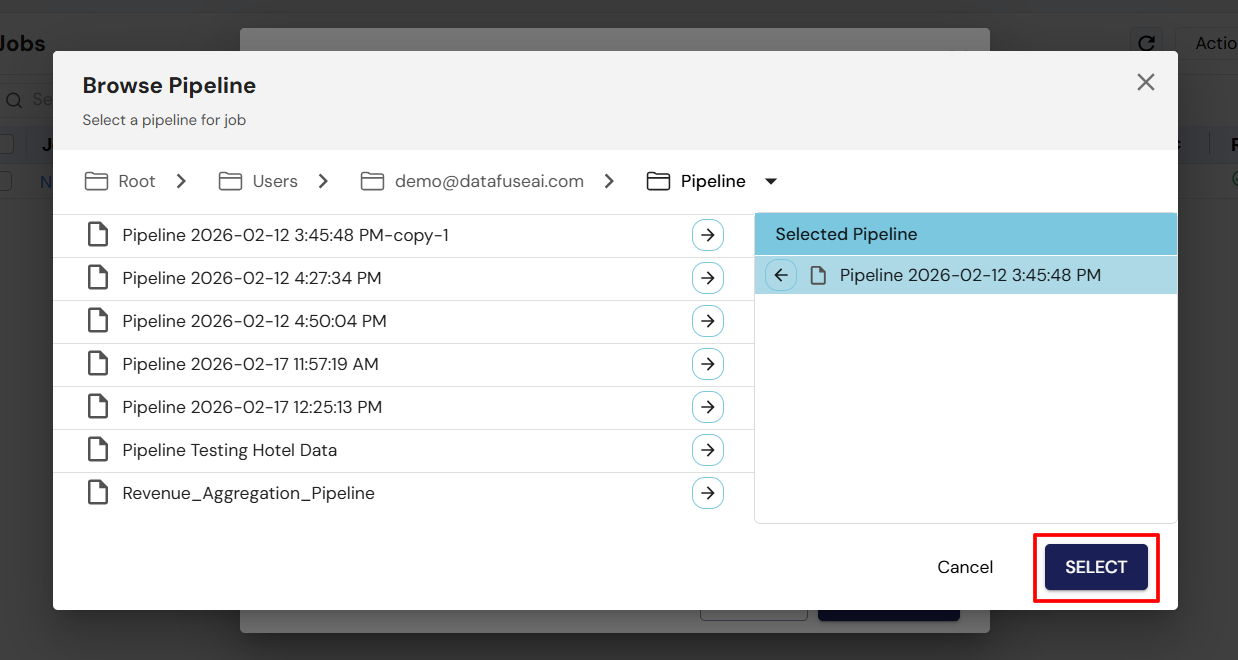
Step 3: Select Your Pipeline
After clicking the Pipeline button, a new pop-up window will appear, allowing you to select a pipeline.
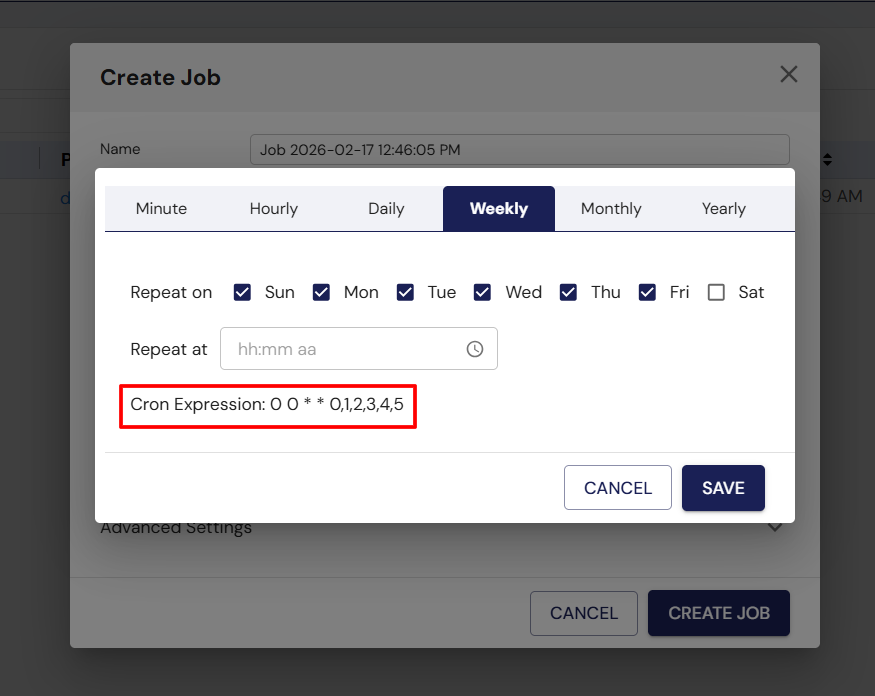
Step 4: Set the Job Schedule
Next, click on the Schedule Time button. A new pop-up will appear with scheduling options.
- You can either choose from predefined scheduling options in the UI (e.g., Daily, Weekly, or Monthly), or enter a custom cron expression.
- When you select a schedule from the UI, the corresponding cron expression will be automatically generated for you.
Step 5: Fill in Sample Job Data
Here’s an example of how your job setup might look:
- Name: “My Daily Data Sync”
- Job Type: Single
- Pipeline: “DataSync-Pipeline”
- Cluster: “Databricks Engine”
- Enable: Checked (enabled)
- Schedule: Every day at 12:00 AM
- Path: /Root/Users/user@email.com/Job/
- Description: "Daily job for syncing data from MySQL to PostgreSQL."
- Engine Availability: Jobs are scheduled to run at specific times (e.g., daily, weekly, monthly). Ensure that the engine is available when the job is set to run.
- Job Frequency: Avoid scheduling jobs too frequently (e.g., every 1 minute). This can lead to excessive resource consumption on your engine and impact performance. A daily or weekly schedule is usually sufficient.
Step 6: Save Your Job
After filling in the details, click the Create Job button. Congratulations, your first job is now created!
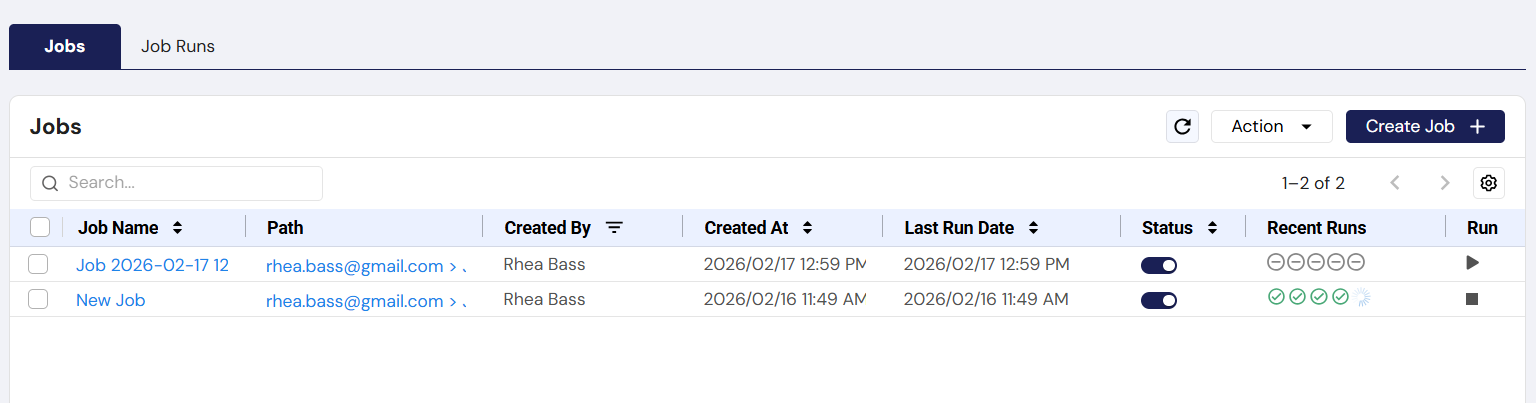
Step 7: Job Execution
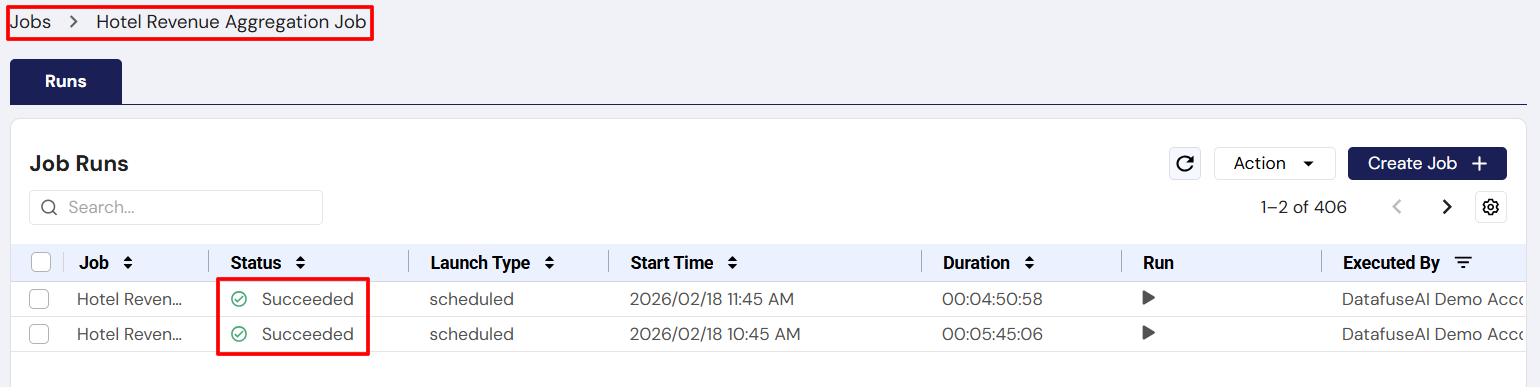
Once your job is created, it will automatically run the selected pipeline at the scheduled time. However, if you’d like to test it, you can manually trigger the job by clicking the Run icon between the Recent Runs and Notifications columns.
Next Steps
Now that your job is set up, you can, visit Core Modules -> Job in detail
You’ve just automated your first pipeline! Feel free to explore more advanced scheduling options or other automation features in DataFuse AI.